Get Quote ▼
Tissue Embedding System BHTP-601
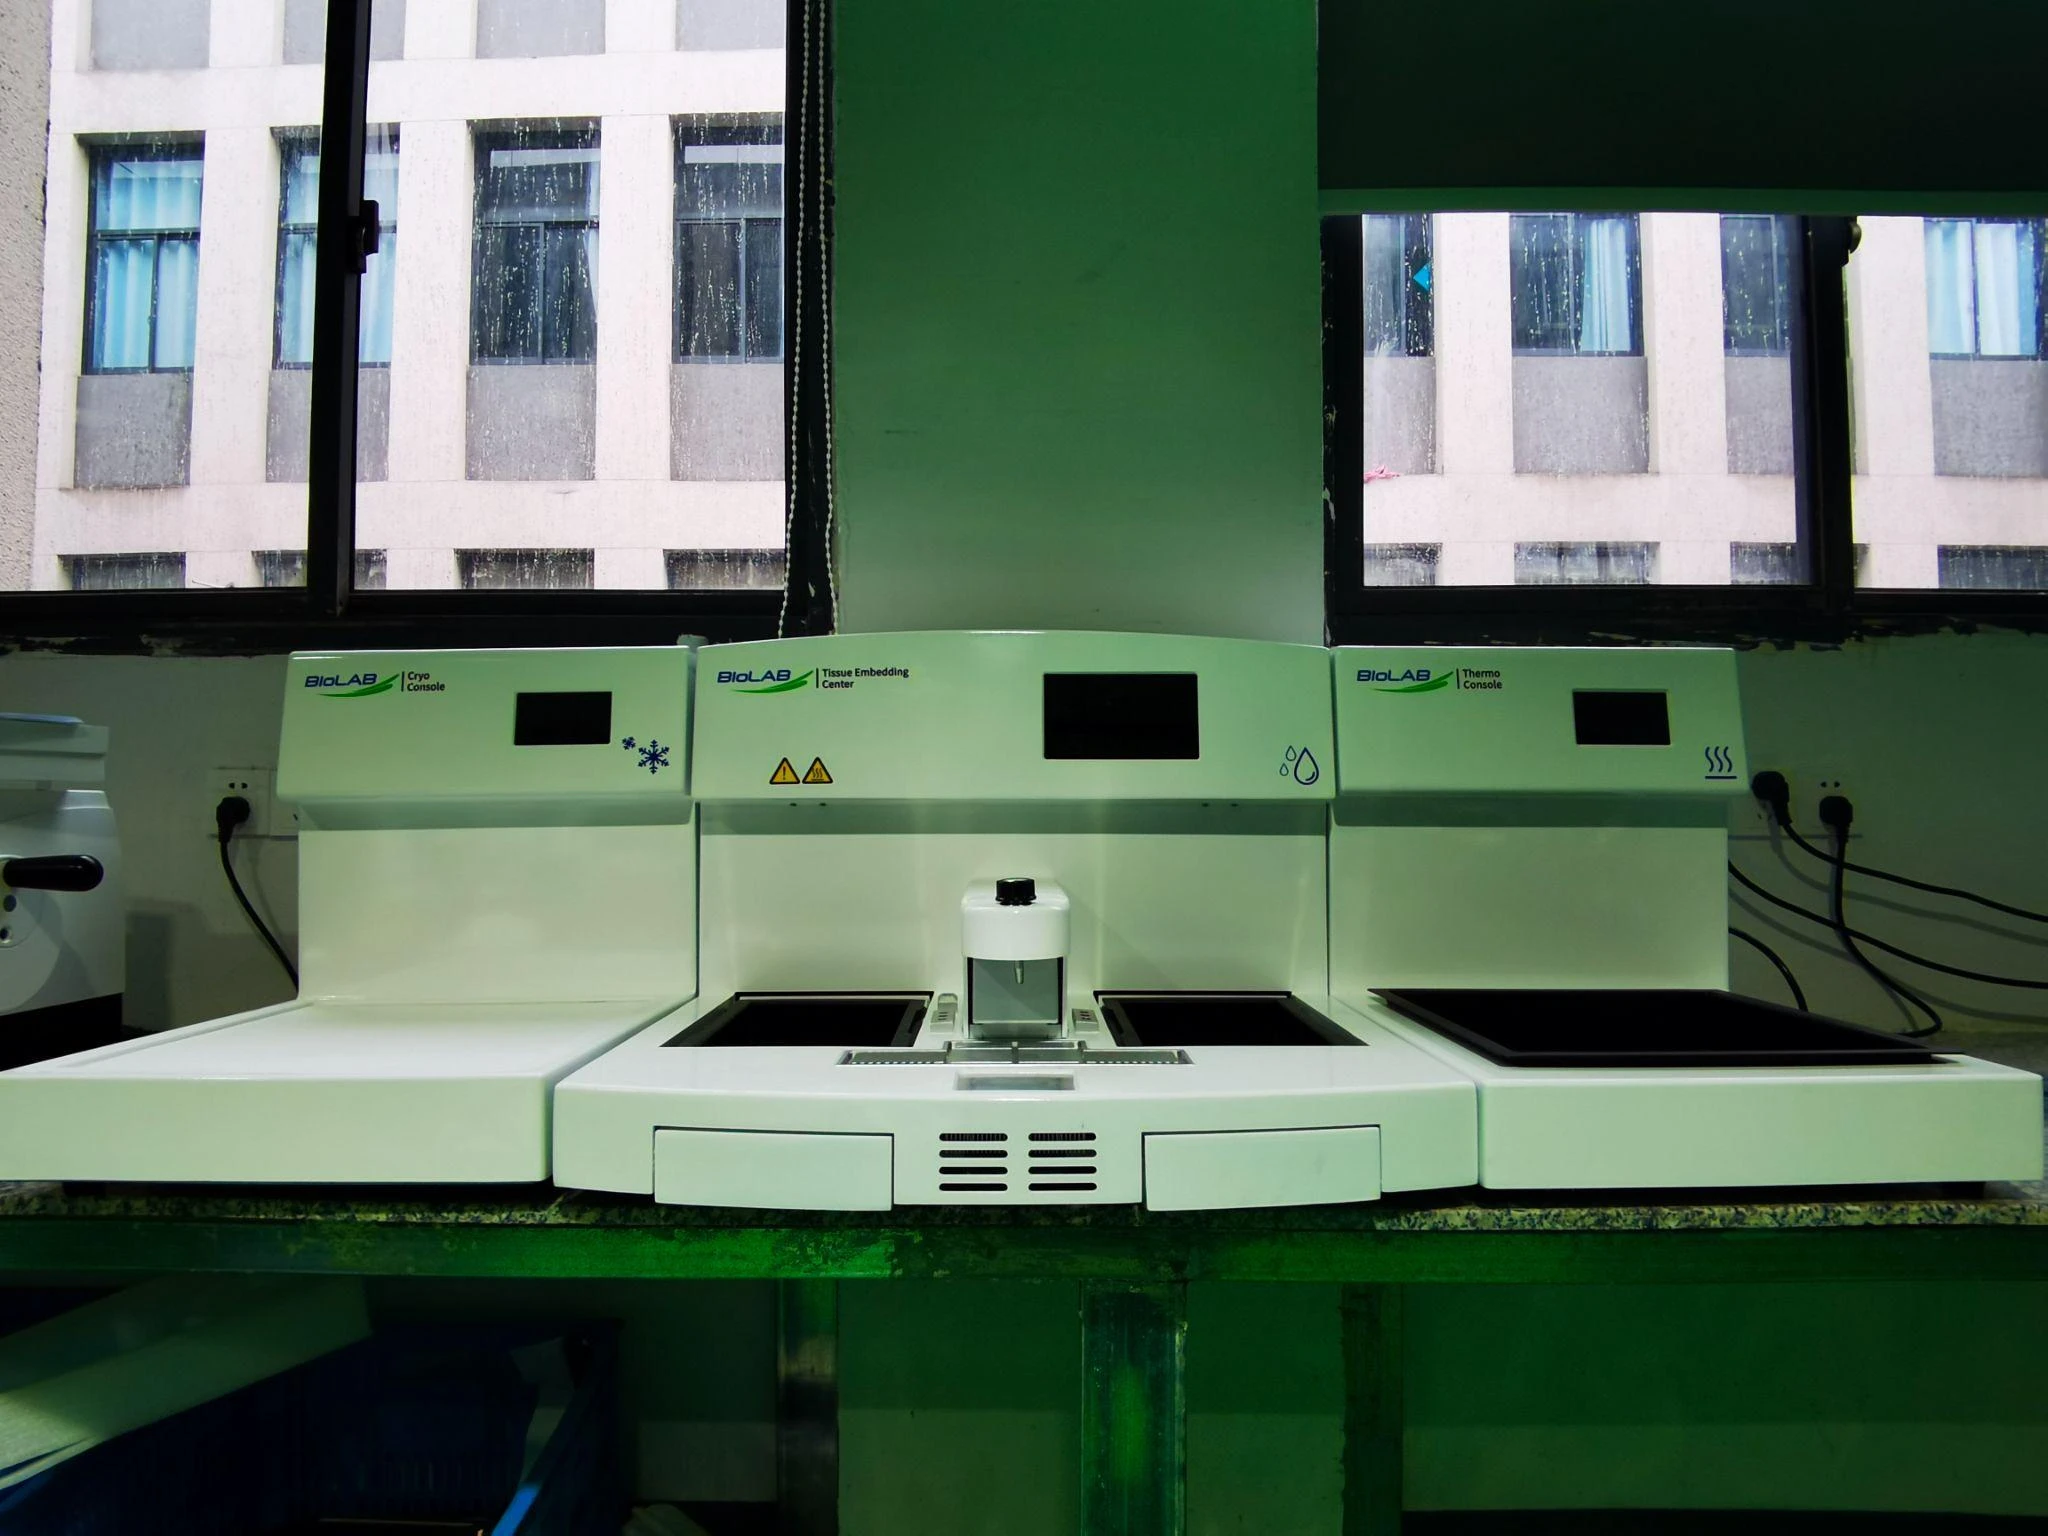
Tissue Embedding System
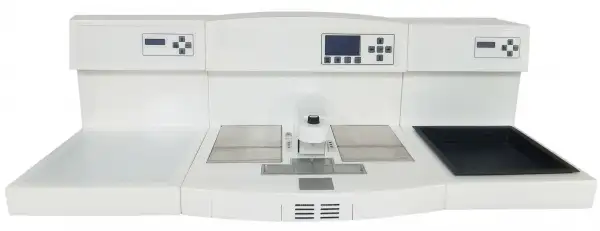
- The Embedding system is composed of three modules, main console and Cryo Console and
- Thermo Console. It is independent design, can put the position left-to-right or right-to-left, to meet different habits of customers. The large working surface allows user processing many samples at the same time. The temperature and work start time can be settable through the control panel.
- Main Console:
- 1.It has a unique embedding upper lighting system design, using LED luminous tube lighting
- with enough brightness to determine the embedding position of small tissues
- 2.Large-capacity wax melting working cylinder, which can meet 400 wax blocks for embedding
- at one time
- 3.The machine adopts fully automatic program control, and can preset 7 days of automatic start time.
Old SKU: BHM1BA1
 Get Quote
 Download Catalog
Specifications
| Model | BHTP-601 |
| Main Console | |
| --Nominal supply voltage | 220V/50Hz |
| --Maximum power draw | 800-1000 W |
| --Working temperature | Ambient to 99 °C, increments 1 °C |
| --Capacity (Paraffin reservoir) | 6.0 L |
| --Capacity (Cassette/mold tray) | 1.6 L |
| --Dimensions (WxDxH) | 650x650x460 mm |
| --Weight | 25 kg |
| Cryo Console specification | |
| --Nominal supply voltage | 220V/50Hz |
| --Maximum power draw | 180 W |
| --Working temperature | 0 °C to -20 °C, increments 1 °C |
| --Dimensions (WxDxH) | 410x660x450 mm |
| --Weight | 18.5 kg |
| Thermal Console specification | |
| --Nominal supply voltage | 220V/50Hz |
| --Maximum power draw | 500 W |
| --Working temperature | 30-90 °C |
| --Capacity (Paraffin tray) | 5 L |
| --Dimensions (WxDxH) | 410x620x440 mm |
| --Weight | 11 kg |
| Package Info | |
| --Packing | Wooden Case |
| --Dimensions (Main console) | 760x750x700 mm |
| --Dimensions (Cryo console) | 720x490x640 mm |
| --Dimensions (Thermo console) | 720x490x640 mm |
| --Gross Weight (Main console) | 50 kg |
| --Gross Weight (Cryo console) | 45 kg |
| --Gross Weight (Thermo console) | 36 kg |
Features
The Embedding system is composed of three modules, main console and Cryo Console and
Thermo Console. It is independent design, can put the position left-to-right or right-to-left, to meet different habits of customers. The large working surface allows user processing many samples at the same time. The temperature and work start time can be settable through the control panel.
Main Console:
1.It has a unique embedding upper lighting system design, using LED luminous tube lighting
with enough brightness to determine the embedding position of small tissues
2.Large-capacity wax melting working cylinder, which can meet 400 wax blocks for embedding
at one time
3.The machine adopts fully automatic program control, and can preset 7 days of automatic start time.
4.This machine has an independent five-temperature control system. The temperature of the
wax tank, wax nozzle, workbench, holding tank and tweezers block can be adjusted within the range of 0-99°C.
5.With manual operation sensitive micro switch and foot control switch for the operator to
choose, it is the first domestic similar product.
Cryo Console:
1. It is composed of a compressor cooled work surface held to chill the paraffin blocks rapidly.
2. The Teflon coated surface allows a minimum ice formation and easy cleaning.
3. Temperature is adjustable from ambient to - 20 centigrade.
4. It can be used as a stand alone unit near the microtome station.
Thermo Console:
1. It is removable in order to facilitate cleaning operations.
2. Stand alone unit near microtome/embedding unit.
3. It may be placed randomly up to user operating habit.
4. Thermal Console holds processed tissue specimens, in any type of cassettes, awaiting paraf
fin embedment. Stores and warms specimens in a large paraffin tank.Working Surface.
Items Included
| Name | Unit |
| Foot Switch | 1 pc |
| Magnifier | 1 pc |
| Fuse (5A) | 2 pcs |
| Power line | 3 lines |
Accessories For Purchase
| Name |
| Temperature sensor |
| LCD Screen |
Photos